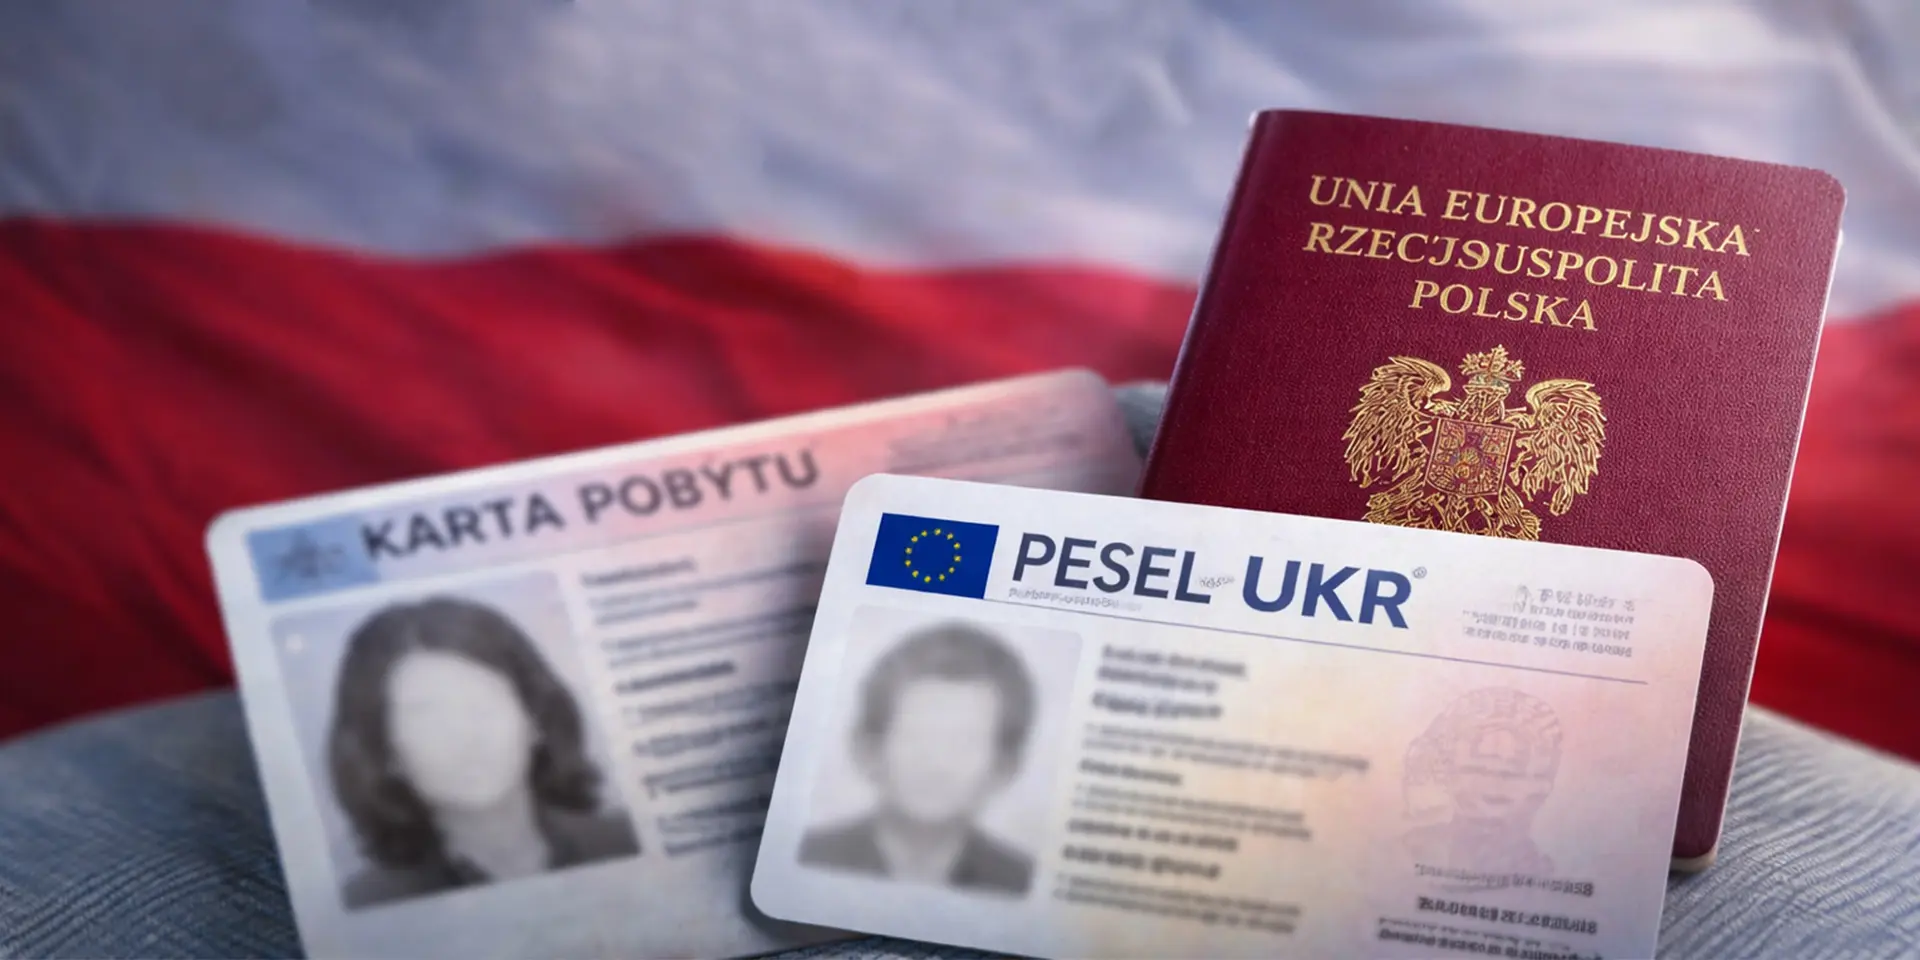
On 27 April 2026, paper-based residence card applications in Poland officially ceased to exist. The only way to file is now through the state digital platform MOS 2.0. Queues at voivodeship offices, envelopes full of documents, passport stamps — all of that belongs to a different era.
But the new system brought new complexity with it. PESEL, Profil Zaufany, file formats, employer participation via a one-time link — without understanding these things, the system simply won’t let you past the first screen. The VisaV.pl team has worked through MOS 2.0 from registration to receiving the zaświadczenie and put everything in one place.
What MOS 2.0 Is and How It Differs From the Old System?
MOS 2.0 (Moduł Obsługi Spraw — Case Management Module) is a completely rebuilt state IT platform for electronic submission of temporary and permanent residence applications in Poland. It’s not an update to the old portal — it’s a fundamentally new model of interaction with migration authorities.
Key features of the new system:
- Login exclusively through login.gov.pl — old accounts are invalid
- Authentication via Profil Zaufany, a qualified electronic signature, or e-dowód
- All documents transmitted in encrypted form as PDF files
- Electronic submission confirmation — UPO
- Zaświadczenie o złożeniu wniosku — the certificate that legally replaces the passport stamp
The most significant practical difference from the old procedure: you no longer submit a complete document package upfront. The case processing starts first, and the office then collects the supporting evidence specific to each applicant’s situation.
Which Categories Remained in Paper Format?
Digitization didn’t cover every category of case. Paper procedures remain for:
- Intra-corporate transfers (przeniesienie wewnątrz przedsiębiorstwa)
- Long-term mobility within an intra-corporate transfer
- Family reunification where the relative is outside Poland and has no electronic signature
- Family members of Polish / EU / UK citizens where the foreign national is outside Poland
- Family life with a Polish / EU / UK citizen under the Human Rights Convention, where the foreign national is outside Poland
All other categories are filed exclusively online through MOS 2.0, with no exceptions.

What To Prepare Before You Start?
Successful submission through MOS 2.0 depends directly on preparation. Skipping any of these steps leads to authentication errors or file rejection.
Step 1: check your Profil Zaufany
Profil Zaufany remains the most common authentication method. Before you start, confirm the following:
- The profile is active — last login date and expiry are shown in settings on pz.gov.pl
- Your first and last name in Profil Zaufany exactly match your current passport
- A name change after marriage or divorce blocks authentication until the profile data is corrected
MOS 2.0 cross-checks Profil Zaufany data against the application automatically. Any discrepancy — even a single letter — blocks authentication.
Step 2: verify your PESEL (for Ukrainian citizens — PESEL UKR)
Profil Zaufany can’t be created without a PESEL, making the number a mandatory prerequisite for the digital procedure.
For Ukrainian citizens, the system automatically checks for a current passport number and fingerprint records in the PESEL UKR register. A personal visit to the gmina / city administration is needed if:
- The PESEL UKR was issued without presenting a passport
- Fingerprints weren’t submitted or their records are missing from the register
- There’s any doubt about the accuracy of the registered data
Step 3: prepare digital document copies
MOS 2.0 only accepts documents as uploaded files. Phone photos aren’t accepted — you need proper scans in PDF format.
Technical requirements for scans:
- Format: PDF for all documents except the personal photo (JPG)
- Mode: black and white
- Resolution: 300 dpi
- No editing or cropping of document margins
- Maximum size per file: 10 MB
- Total upload limit: 50 MB
File naming convention: document type, then the applicant’s first and last name in Latin characters as they appear in the passport. Words are separated by underscores; no spaces or special characters. Examples for a hypothetical Olena Kovalenko:
- Paszport_Olena_Kovalenko.pdf
- Umowa_najmu_Olena_Kovalenko.pdf
- Zaswiadczenie_o_zatrudnieniu_Olena_Kovalenko.pdf
- Potwierdzenie_oplaty_Olena_Kovalenko.pdf
Step-by-Step Guide to Filing Through MOS 2.0
Step 1: register on the portal
Old accounts on mos.cudzoziemcy.gov.pl are invalid. Login goes exclusively through login.gov.pl using your existing Profil Zaufany. You don’t need a new Profil Zaufany, but you do need to create a new account in the MOS system itself.
After logging in, immediately check whether the automatically pulled personal data matches your passport. If there’s a discrepancy, correct it in Profil Zaufany before you start filling in the form.
Step 2: fill in the online form
The form is a guided wizard with prompts, available in seven languages including Ukrainian and Russian. It’s divided into logical sections:
- Personal details
- Grounds for residence
- Residential address — must match your lease agreement or registration
- Employer or educational institution details
The employer or institution’s email address must be entered accurately — the system sends a unique link to that address for completing the required annexes. A typo in the email address stops the entire process.
Step 3: third-party participation
Employer or institution involvement is mandatory in the following cases:
- Residence card based on employment (zezwolenie na pobyt czasowy i pracę)
- Temporary residence for full-time study
- EU Blue Card
- Temporary residence for performing functions on a company’s management board
- Residence card for an internship or volunteering placement
How it works technically: the system automatically sends a link to the specified email address, valid for 30 days. The third party clicks the link, enters a protected environment, and fills in the required annex — signing it electronically. No scanned paper documents are needed.
Step 4: upload documents
Only two documents are uploaded at this stage:
- A current digital photo in JPG format — no larger than 2.5 MB, minimum 684×883 px, taken within the last 6 months
- A passport scan in PDF format — all pages including blank ones, in a single file
All other supporting documents — certificates, lease agreements, bank statements — are not uploaded at this point. The office will request them later, after the application is accepted for review.
The most common upload mistakes flagged by voivodeship offices:
- Passport uploaded page by page as separate files (correct: one PDF containing all pages)
- Different documents combined into a single file (correct: each document as a separate file)
- File names containing Cyrillic characters, spaces, or special symbols
- Documents uploaded that aren’t required for the specific type of application
Step 5: submit and sign
Signing is done exclusively via electronic means — Profil Zaufany, a qualified electronic signature, or e-dowód. After successful authentication, the system records the submission. This date determines whether filing deadlines are met.
Immediately after sending, the applicant receives a UPO — a technical confirmation that the application reached the system. Two documents to understand clearly:
- UPO — confirms the application was sent, but does not confirm legal residence status
- Zaświadczenie o złożeniu wniosku — appears later in the personal dashboard once an officer registers the case. This is the document that legally replaces the passport stamp
Step 6: pay the fee
Payment happens at the final stage of submission. The system automatically offers online payment through a payment gateway, or provides bank transfer details if online payment isn’t available for your voivodeship or category.
One key change from the paper era: the PLN 100 fee for producing the physical residence card is now paid at the same time as the main processing fee — during submission, not after a positive decision. Failing to pay this fee makes the application package incomplete and prevents it from entering substantive review.
What Happens After Submitting Your Application?
What comes next depends on the type of card:
- Standard applications (temporary residence, permanent residence, EU long-term resident) — after submission, wait to be called in for fingerprinting. The in-person biometric visit remains a mandatory stage with no digital alternative
- CUKR card applications — no repeat fingerprinting required; the system uses biometric data already in the PESEL UKR register. The applicant is called in only once — to collect the finished card
Once submitted, the application cannot be edited. Any corrections require direct contact with the voivodeship office. Case progress is tracked in the personal dashboard.